Shrimp Nursery Phase Planning: From Post-Larvae to Healthy Juveniles
Also in:EspañolPortuguêsFrançaisالعربية
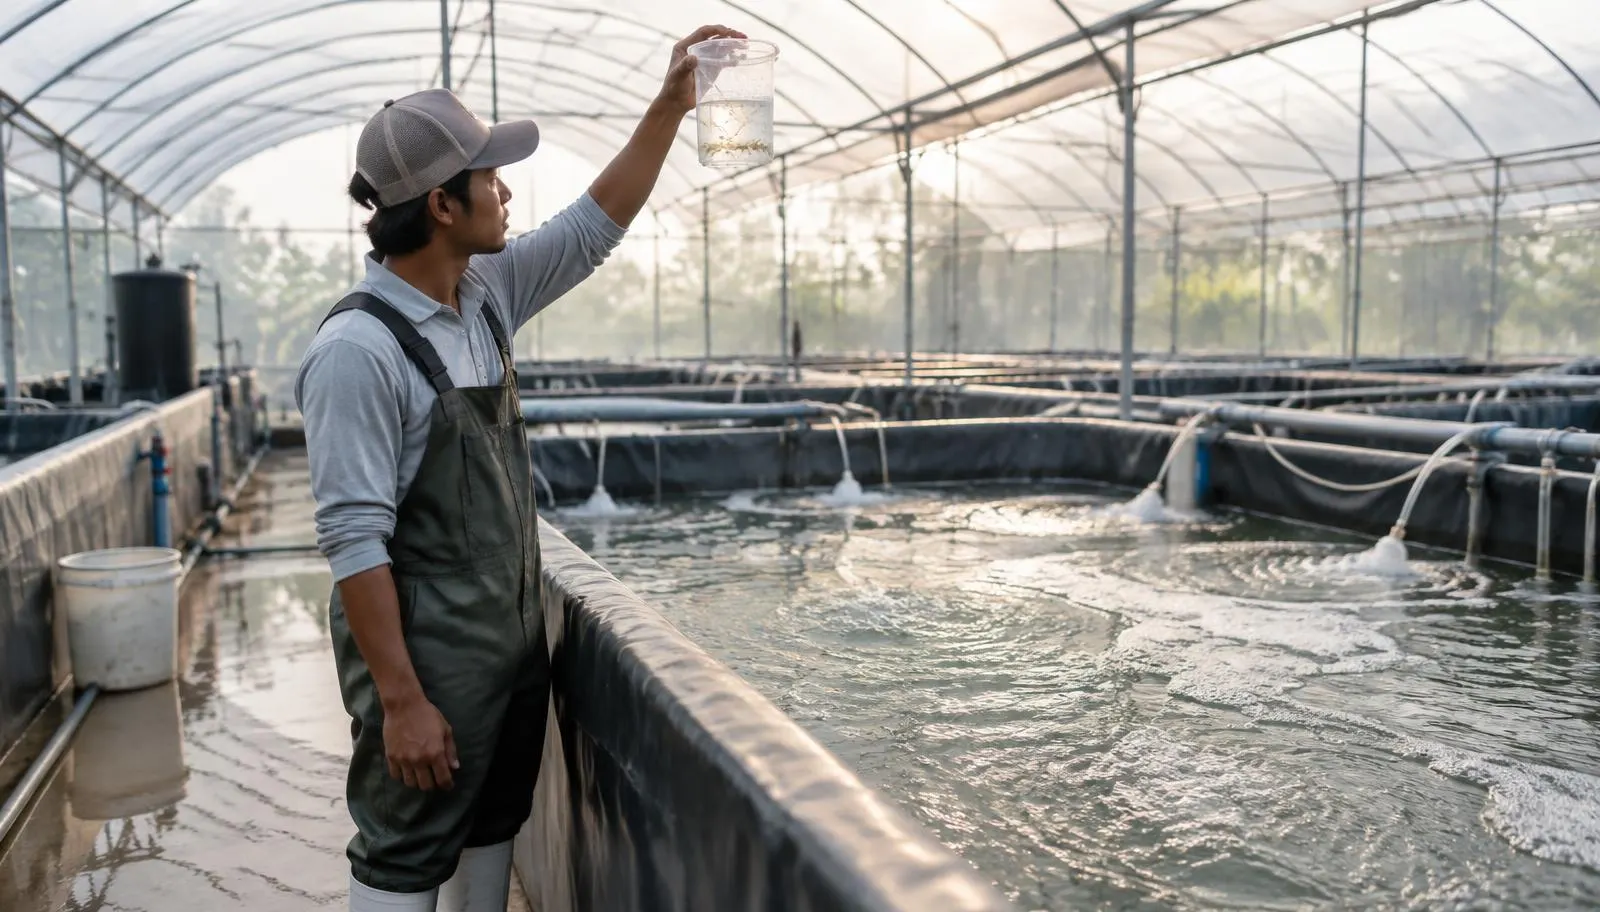
Short answer: a shrimp nursery is a separate, controlled phase between the hatchery and the grow-out pond, where post-larvae (PL) are raised for a few weeks in small tanks, raceways or lined ponds before transfer. Planned well, it gives you a healthier, more uniform juvenile, a shorter and more predictable grow-out cycle, and a checkpoint where weak or diseased batches can be stopped before they reach the main ponds. Planned badly, it adds cost, handling stress and one more place for disease to spread. This guide explains how to decide whether you need a nursery, how to size and equip it, and what to ask suppliers.
Editorial note: practical planning guide by the FishMatch Group editorial team, reviewed 15 October 2026, for shrimp farm owners, managers and project planners. It is not veterinary, engineering or financial advice. It gives no universal stocking densities, water-quality thresholds, survival rates or costs: those depend on species, site, system and management, and should come from your technical team, your hatchery and your own records.
Key takeaways
- A nursery is a biosecurity checkpoint and a scheduling tool, not just an extra tank.
- Decide the nursery's purpose first: shorter grow-out, more cycles per year, better PL screening, or protection from a harsh pond start.
- Size the nursery from the grow-out stocking plan backwards: how many juveniles, of what size, on which dates.
- Aeration, backup power, water treatment and a clean transfer method matter more than the tank material.
- Every batch of PL should arrive with documentation and be checked before and after the nursery phase.
What a shrimp nursery does
In a direct-stocking farm, post-larvae from the hatchery go straight into the grow-out pond. In a nursery system they first spend a period in a smaller, closely managed unit, at higher density and with more frequent feeding and monitoring, until they reach a juvenile size agreed with your technical team. They are then counted and transferred to grow-out. Extension guides such as those from FAO describe nursery phases as a common step in intensive whiteleg shrimp (Penaeus vannamei) production.
When a nursery makes sense — and when it does not
- It often makes sense when grow-out ponds are expensive to keep idle, when you want more cycles per year, when PL quality is uneven, or when early pond conditions (temperature, plankton, predators) are hard to control.
- It may not pay back on a small or extensive farm with low stocking, limited staff, or no reliable power for aeration.
- It can increase risk if transfer handling is rough, if the nursery and grow-out teams do not share records, or if the nursery becomes a place where disease builds up between batches.
Step 1: Work backwards from the grow-out plan
Write down how many ponds or tanks you will stock, on which dates, and with how many juveniles each. From that, your technical team derives how many PL must enter the nursery, in how many batches, and for how long each batch stays. This is the single most important sizing input; suppliers cannot size a nursery for you without it.
Step 2: Choose the nursery system
| Option | Typical use | Points to check |
|---|---|---|
| Indoor tanks or raceways (often under a greenhouse or shed) | Intensive farms, cooler climates, strong biosecurity needs | Heating or cooling, water treatment, power reliability, staff skill |
| Lined outdoor nursery ponds | Large pond farms in warm climates | Liner quality, aeration layout, predator control, drainage for harvest |
| Biofloc or RAS-based nursery | Farms with limited water or high biosecurity goals | Carbon and solids management, monitoring, backup systems |
| No nursery (direct stocking) | Extensive or small farms | PL screening and acclimation still required |
Step 3: Define the equipment scope
A typical nursery scope includes the tanks, raceways or lined ponds; aeration and, where needed, pure oxygen; water intake, filtration and disinfection; heating or cooling; feeding equipment; monitoring sensors and alarms; a backup generator; harvest and transfer equipment such as nets, shrimp pumps or transfer pipes; counting and weighing tools; and a quarantine and acclimation area for incoming PL. Ask each supplier to state exactly which of these items its quote includes.
Step 4: Plan PL sourcing and biosecurity
Agree with the hatchery how PL will be documented and tested before shipment, and how they will be acclimated on arrival. The WOAH Aquatic Animal Health Code and the related diagnostic manual set the international reference for listed crustacean diseases. Keep separate equipment for the nursery, disinfect units between batches, and record origin, test results, survival at transfer and any health events for every batch.
Step 5: Plan the transfer
Transfer is the moment of highest stress. Plan how juveniles are harvested from the nursery, how long they are out of water or in transport tanks, how water conditions are matched between nursery and pond, and how they are counted so that grow-out stocking numbers are real rather than estimated. Transfer by gravity or a gentle shrimp pump is usually designed into the layout, not added later.
Questions to ask suppliers
- Which nursery system and capacity do you propose for our stocking plan, and on what assumptions?
- What exactly is in the scope, and what is excluded (power, civil works, water source, permits)?
- How is aeration or oxygen backed up during a power failure?
- How are tanks or ponds cleaned and disinfected between batches?
- How are juveniles harvested and transferred, and what equipment is included for that?
- Which references or operating sites can you show for a similar species and climate?
Common mistakes
- Sizing the nursery from the building or budget instead of the grow-out stocking calendar.
- Treating aeration backup and alarms as optional.
- Running nursery and grow-out with separate records, so problems cannot be traced to a PL batch.
- Rough or slow transfers that cancel out the benefit of the nursery phase.
- Comparing quotes that assume different capacities, densities or scopes.
Plan your shrimp project with FishMatch
FishMatch's buyer tools and guides are free. For commercial shrimp projects from USD 250,000, our team can help write the nursery and grow-out brief and structure a private request for proposals; supplier contacts are never shared automatically and no request is sent without human review. Start with the shrimp survival and profit calculator, read the vannamei hatchery guide, or describe your project.
Sources
Frequently asked questions
Related articles
Where this fits in a real project
Every FishMatch project runs through the same five reviewed stages, from a first enquiry to comparable quotations. See the full buyer journey.
Planning a commercial aquaculture project?
Send your project brief. A FishMatch specialist reviews it before relevant suppliers are contacted privately.
Request a quote